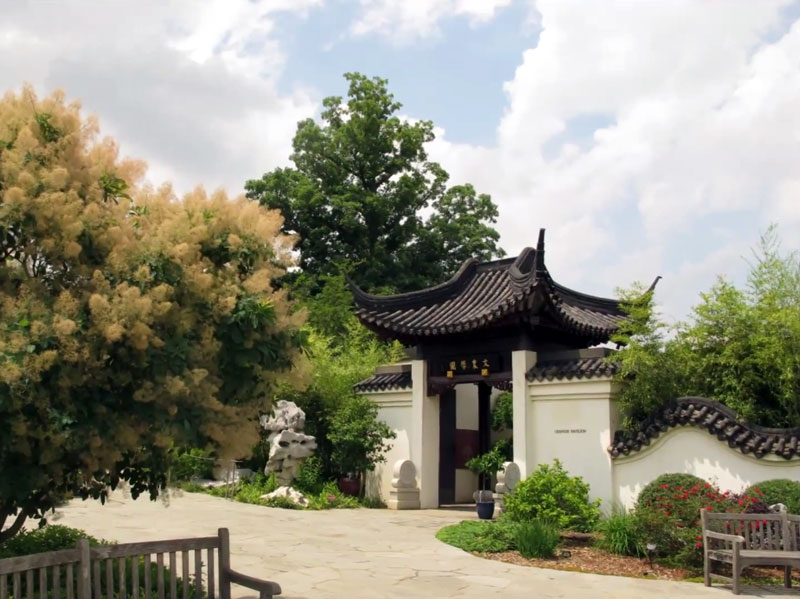
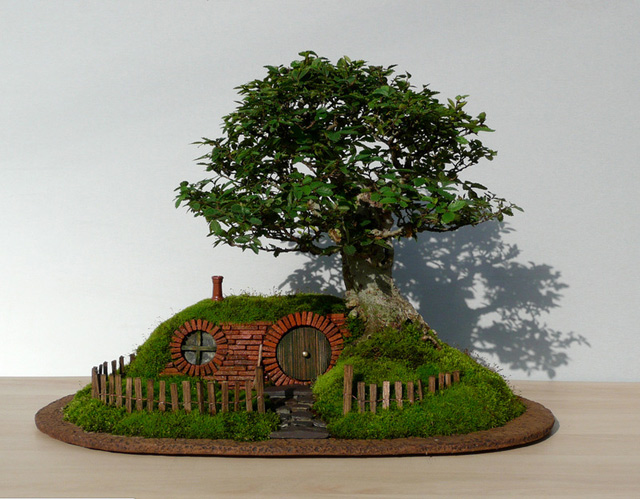
Landscape of Middle Earthdescribed in the books of J. R. R. Tolkien inspired one skilled artist to recreate it in miniature, usingbonsai. Chris Guise, the creator of this composition, explains step by step how he created Bag End. After reading the article, you will be able to create a similar masterpiece in your home or garden.
Tree before and after special effects
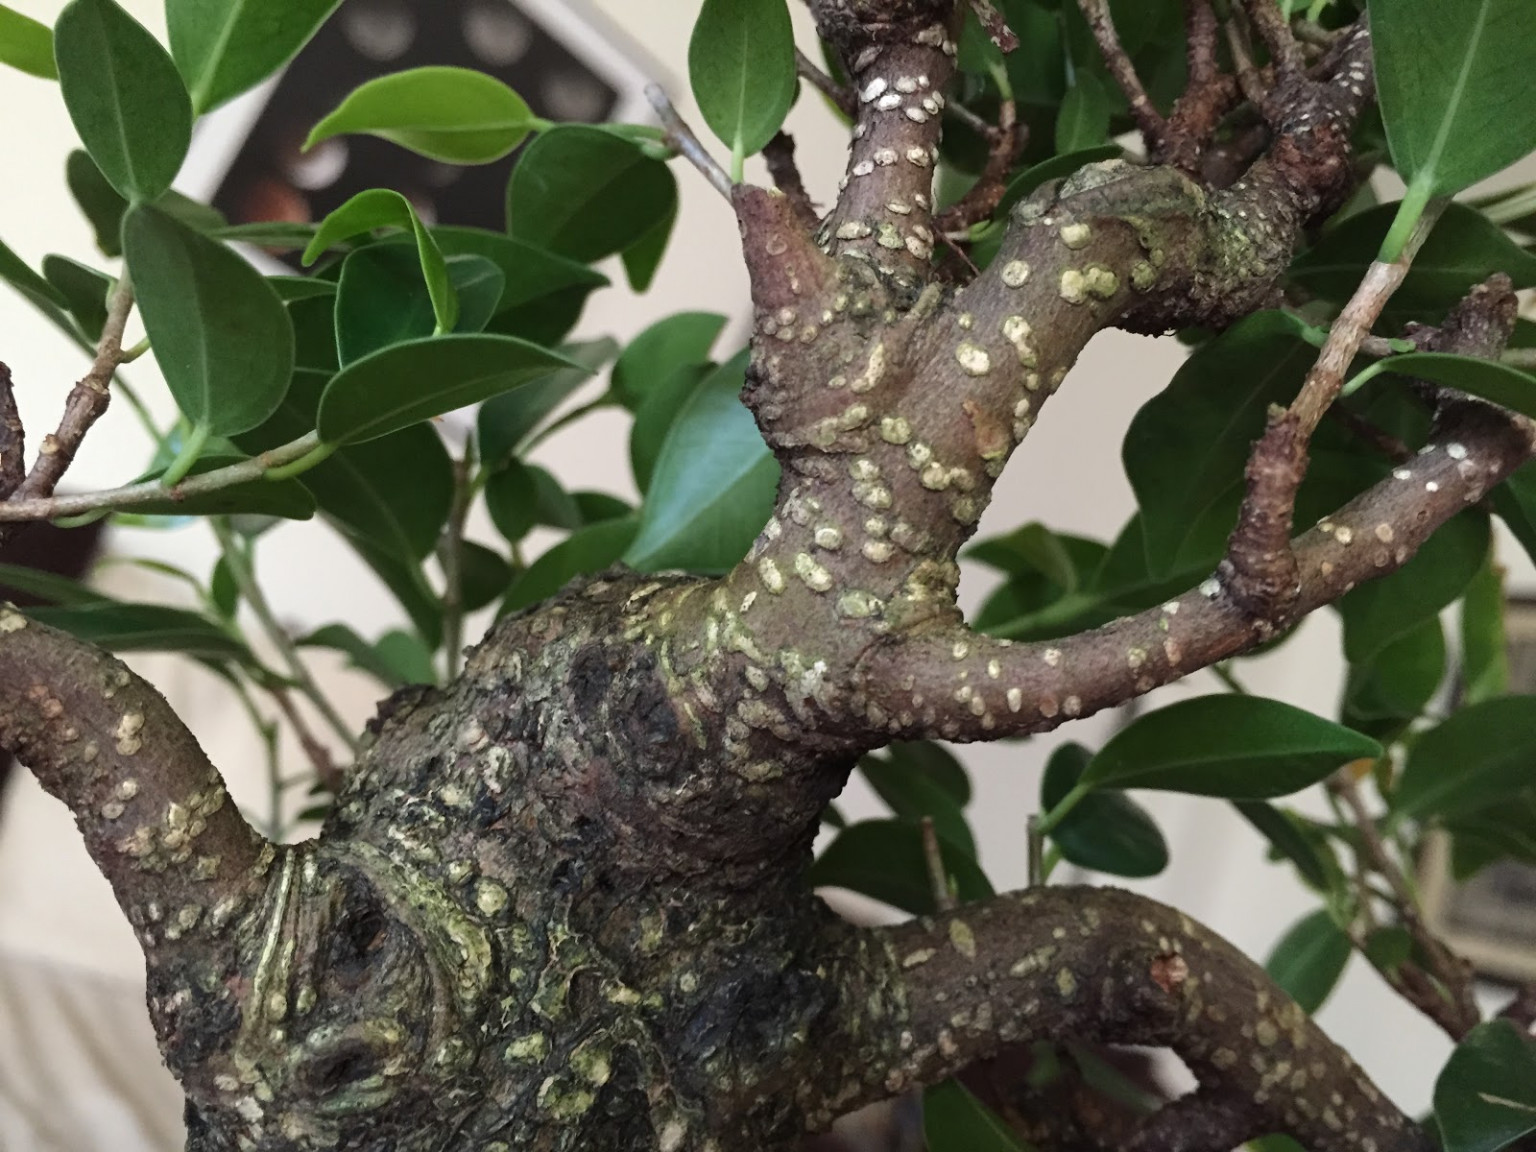
After the tree was purchased I cut a shari down the trunk, coated the edges of the cut with paste and left it alone. After two years the edges had roughened up and become beautiful. Soon after I decided that I needed to make one last change - cut the trunk deeper. The cut was made using a dremel and the appropriate bits.
Forming the recess in the trunk took about 3 hours, it was necessary to be very careful not to spoil the formed growth that had formed along the edges after the previous work. For more detailed information, readpruningand bonsai formation.
Window and door
Making the door is quite simple. Miniature boards were made, cut and processed. The boards are laid out face down on the table and fastened with a construction stapler. Then the door is shaped by sanding.
For the window I used glossy plastic. Reflecting light it resembles glass, and the black color gives the impression that the room is dark. The cross-pieces were cut from the same strips of wood as the fence, installed and treated with an antiseptic. The door was also treated and a handle was installed.
Tree placement
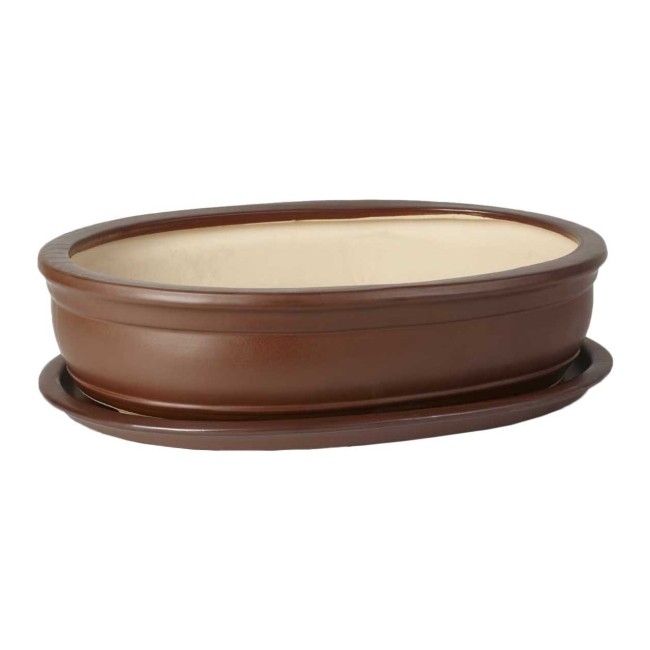
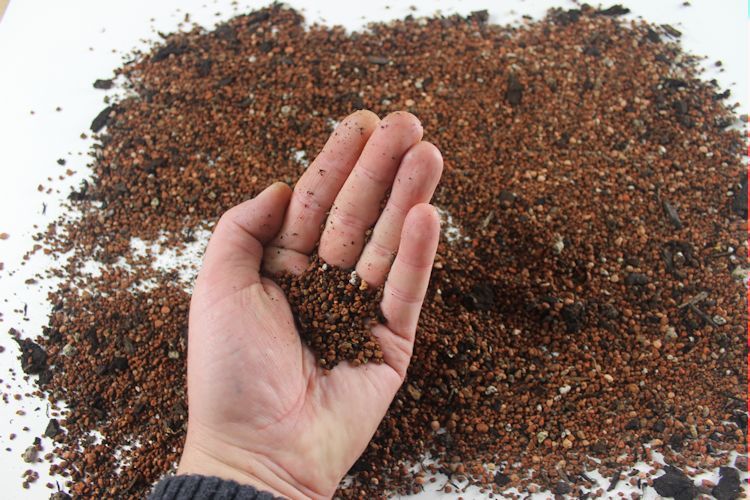
After installing a mesh on the drainage holes and wires to fix the tree to the slab, I poured akadama and placed the tree on it, carefully securing it with wire. Then I made a retaining wall out of clay, which prevents the soil from crumbling, and covered the roots with bonsai soil. Read more abouthow to transplant bonsai.
Brickwork
The facade was formed on a plastic mesh for plaster. The mesh strengthens everything so that the finished object can withstand the necessary loads. Bricks were cut from roofing tiles, sharp edges were ground down and fixed as shown in the photo. After the window and door openings were laid out with bricks, they needed to be bricked up.
Installation of brickwork
The next step was to install the brick facade vertically. To do this, I placed a polyethylene film on the slab and then poured the prepared solution on it. I placed aluminum wire in the solution and then carefully installed the brick facade on top of the wires.
Brickwork - foundation and fence making
After installing the front wall, you need to let the mortar dry for about an hour, and then you can carefully remove the wall from the slab. While the cement was still "fresh", that is, not completely dry, I cut and trimmed the edges.
To make the fence, a strip of red wood was divided with a knife into chips (fence posts) that were tied with aluminum wire. Before installing the fence, the edges of the chips were tinted and the wire was treated with sandpaper, which gave the fence an antique effect.
Construction of a slide
Once the brick front of the house was made I started working on the rest of it. I needed to create a mound of soil that would rise up behind the front, so I decided to try using a special filler called “Oasis” that florists use. It’s very light, absorbs a lot of water and is easy to cut and shape. I secured it to the back of the brickwork with wire and then covered it with a thin layer ofsoils.
Installing a fence and finishing a brick wall
The fence was anchored into the ground in front of the house. The steps leading up to the door are small colored and textured cement slabs left over from another project.
Once all the main components were in place I discovered that there was a gap between the door frame and the bonsai. The picture shows the solution - some parts of the brickwork and the warty cones on the tree were covered in moss.
Making a Door Handle
The brass handle was made using a small metalworking machine. After being roughly shaped, the handle was sanded and then polished to a high shine.
A hole was drilled in the door through which a screw passed to attach the handle.
Adding moss
After I laid the sidewalk from the gate to the front door and the blind area under the window. The cracks and crevices between the slabs were filled with small tufts of moss (more details in "moss for bonsai")
The final touch, a tiny broom bought from a doll shop.
Results
Finally, Bilbo's house is finished. I spent 80 hours on this project. Some parts had to be redone, often due to scaling issues, and sometimes I was not satisfied with the quality of the work. The most important thing is that in the end I got what I wanted and the composition of Bilbo's house turned out to be quite realistic, largely due to the wonderful bonsai.
The result of the work was the installation of a chimney pipe. For this, I cut a small wooden dowel with a hole inside and stuck one end through the moss into the soil.